Description
Before we get started, I want to highlight the benefits of this process.
•Does not cause allergic reactions like other rubbers designed to repair anatomical structures. This is because it does not contain high levels of acids (which is what makes the base sticky and thick and may also cause unwanted reactions for you and your client in the long term).
• Provides a solution for customers with sensitive, delicate, and thin nails who are not recommended to use acidic bases but still want to strengthen and repair their nail structure.
The steps are very simple:
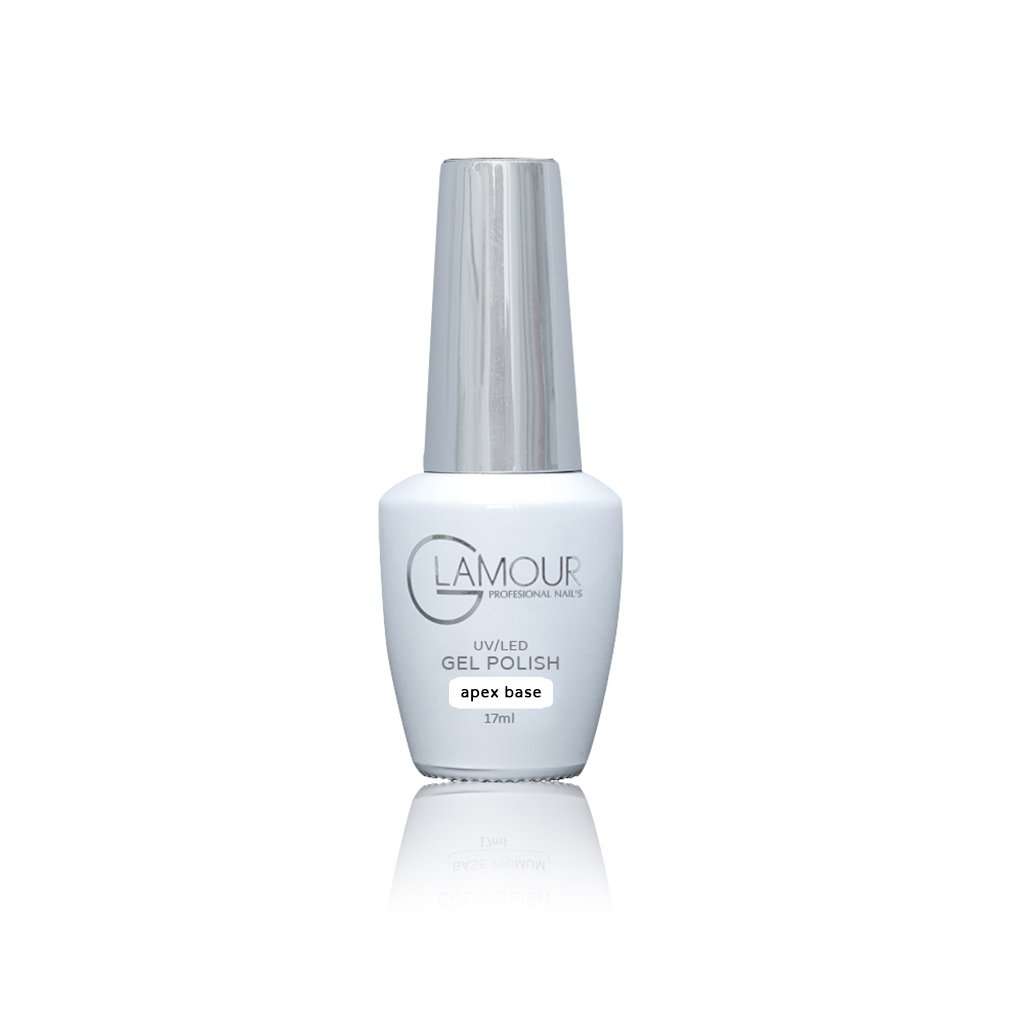
Preparation of the nail (manicure, neutralization of the nail, nail polish remover, and non-acidic primer)
And we'll get to the base—
Apply a thin layer to the entire nail base, including the cuticles.
And now for the new and important part—
Take a "bubble" of the Apex Base and place it in the Apex area, but not too close to the cuticle, because, as we said, it is not thick and its uniqueness lies in its ability to spread. With a light flick, spread the base to the free edge and turn your hand over.,
Within seconds, you will see the perfect "egg-shaped" structure, achieved without any effort or external brushes. We turned it over, saw that we had achieved the desired result, and immediately placed it on the lamp. And that's how you work, finger by finger.
Very important!
-Don't get too close to the cuticle -Will the Apex Base do it for you?
– Light and loose work with the brush
-Turn your finger parallel to the table so that the apex base is aligned correctly.
Good luck


 240 ml")


")
")


